
13
Oct
Share
No Comments on How to Spot Hidden Roof Damage After a Storm Roofing
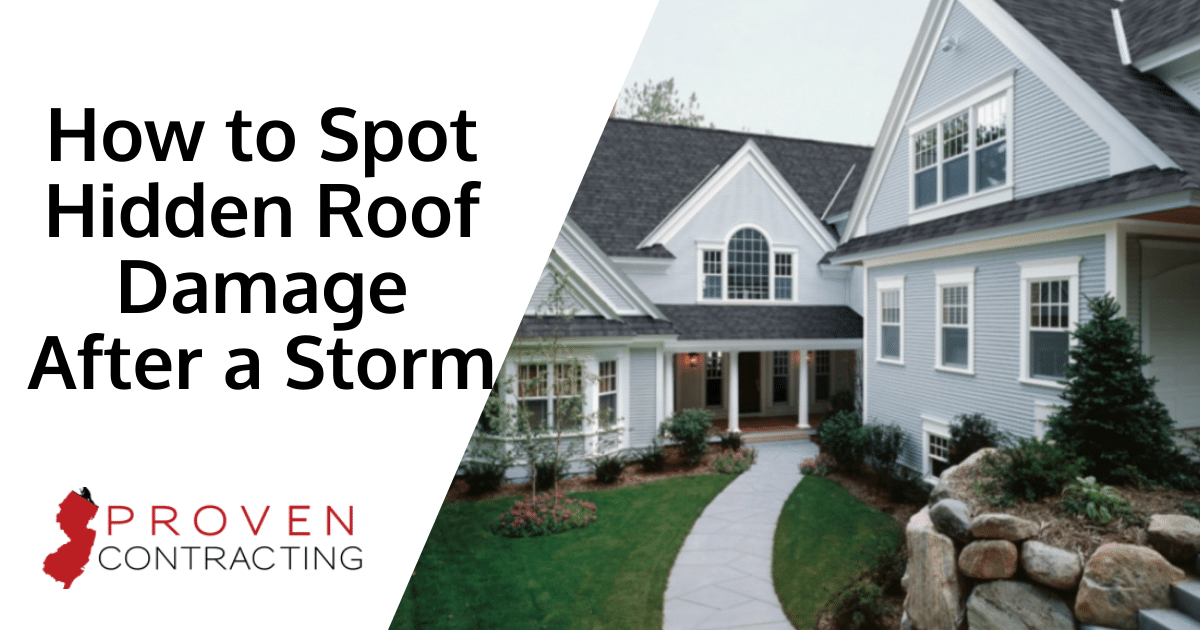
How to Spot Hidden Roof Damage After a Storm
Introduction
Storms don’t have to rip shingles off to cause trouble. Wind, hail, and driving rain can create hidden weaknesses that only show up months later as leaks, mold, or premature roof failure. With the right steps and a calm, methodical approach, you can spot issues early and protect your home. Below is a practical guide based on decades of inspections and repairs, tailored for homeowners who need clear, reliable direction after severe weather.
What Storms Actually Do to a Roof
Wind tries to lift the edges of shingles and flashings. Hail bruises or dents roofing surfaces. Heavy rain seeks any small opening, then rides gravity along nails, seams, and wood grain. On flat roofs, standing water and debris cause punctures and seam failures. Even if your roof looks “fine,” sealants can be broken, fasteners loosened, and protective layers compromised.
Safety First and Immediate Steps
- Stay off the roof. Wet, wind-lifted shingles and slick membranes are dangerous. Most damage can be assessed from the ground and attic.
- Photograph everything—siding, gutters, downspouts, windows, fences, and landscaping—before you clean up. Time-stamped photos help with insurance.
- If water is near lights or electrical, switch off the breaker and call a professional.
- Move belongings away from wet areas and place buckets under active drips.
Check the Exterior from the Ground
Asphalt Shingles
- Edges and ridges: Look for shingles that appear lifted, creased, or misaligned. A lifted shingle may look flat but have a broken adhesive strip, making it vulnerable to future wind.
- Granules in gutters: Excess granules (the sandy material) indicate hail or abrasion damage that accelerates aging.
- Dark “bruises”: Hail impact spots can crush granules and bruise the asphalt underneath. They may feel soft if pressed (let a pro confirm).
Metal Roofing
- Dents and dings: Hail leaves visible dimples on panels and ridge caps.
- Loose fasteners: Look for backed-out screws or missing fastener heads on exposed-fastener systems.
- Seam integrity: On standing seam roofs, check for deformed seams and bent panels near edges.
Tile and Slate
- Cracked or slipped pieces: Even a small crack lets water travel under tiles.
- Broken hips and ridges: Impacts often show here first.
Wood Shakes and Shingles
- Fresh splits: New cracks look light in color compared to older, weathered wood.
- Missing or curled pieces: Wind can lift and break aged shakes.
Flat Roofs (EPDM, TPO, Modified Bitumen)
- Ponding: Standing water lasting more than 48 hours stresses seams and accelerates deterioration.
- Punctures and blisters: Hail can puncture membranes or cause blisters that later split.
Flashings, Penetrations, and Skylights
- Chimneys and vents: Look for bent metal, missing storm collars, cracked rubber boots, or gaps where caulking used to be.
- Skylights: Inspect the glass for cracks and the curb flashing for lifted edges.
- Drip edge and rake edge: Wavy or bent metal often means wind got under the roof covering.
Gutters, Downspouts, and Fascia
- Sagging or pulled fasteners: Wind and ice can pull gutters away, letting water run behind the fascia.
- Dents and seams: Hail dents may be cosmetic on gutters but can indicate roof hail damage too.
- Downspouts: Check for separation at elbows and debris clogs pushing water toward the foundation.
Inspect Inside: Attic and Ceilings
In the Attic
- Daylight: Pinpoints of light around vents, chimneys, or ridge lines suggest gaps in flashing or shingle coverage.
- Damp insulation: Wet or matted insulation indicates a leak; moisture may travel from the entry point.
- Stains on roof deck: Dark rings or streaks on the wood sheathing show active or past water intrusion.
- Nail tips: Rusted or frosted nails can point to ventilation issues made worse by storm intrusion.
Ceilings and Walls
- Yellow or brown stains: Often appear days or weeks later; circle the edges with a pencil to monitor growth.
- Musty odor: Persistent smells sometimes precede visible staining.
Hidden Damage You Might Miss
Hail Bruising and Granule Loss
Shingles can be bruised without visible cracks. The top granule layer protects the asphalt from UV rays; once it’s crushed away, the shingle ages quickly. This type of damage is often insurance-eligible but easy to overlook without a trained eye.
Broken Seal Strips from Wind
Wind can break the adhesive bond under shingles without tearing them off. Unsealed shingles flutter and eventually crease, crack, or blow away in later storms.
Membrane Seams on Flat Roofs
Driving rain finds weaknesses along seams and penetrations. Patches applied years ago may fail after hail or wind movement. These leaks can be intermittent.
Fastener Back-Out and Deck Movement
Vibration from wind can loosen nails and screws, creating micro-gaps. On older roofs, decking may have delaminated or warped, breaking the shingle bond and causing soft spots.
Ice Dams After Winter Storms
Ice forces water under shingles and behind flashings. Look for shingle edge distortion, water-stained sheathing near eaves, and damaged fascia/soffits. A robust ice-and-water barrier underlayment reduces this risk.
Quick Temporary Protection
- Cover active leaks inside with plastic sheeting and buckets.
- Use roof tarps only if it’s safe and you’re experienced; otherwise, call for emergency tarping. Properly anchored tarps prevent further damage and support insurance claims.
- Clear debris from gutters and downspouts so water moves away from the house.
DIY vs. Professional: Be Realistic
- DIY-friendly: Ground-level inspection with binoculars, attic checks, basic gutter clearing, photo documentation.
- Call a pro: Any roof walking, suspected hail/wind damage, flat roof issues, skylight or chimney leaks, structural soft spots, or repeated stains. Pros have harnesses, moisture meters, infrared cameras, and manufacturer-specific repair methods.
Choosing a Contractor You Can Trust
- Local license and insurance: Ask for proof of general liability and workers’ comp. Verify the business address.
- Storm chaser caution: Be wary of door-to-door pressure. Choose a contractor with local references and a service department.
- Detailed inspection: Expect photos, a written condition report, and a clear repair or replacement plan.
- Insurance savvy, not insurance fraud: A good contractor documents damage and meets your adjuster on site. They won’t “eat your deductible” or ask you to sign away benefits without a transparent scope.
- Materials and methods: Ask about impact-rated shingles (Class 3 or 4), metal thickness, underlayment type (synthetic vs. felt), ice-and-water shield at eaves/valleys, drip edge, starter strips, ridge ventilation, and ring-shank nails for high-wind zones.
- Warranties: Know the difference between manufacturer material warranties and workmanship warranties. Ensure installation follows manufacturer specs—improper methods void coverage.
Repair or Replace? How Pros Decide
- Age and condition: An older, brittle roof with scattered damage often costs less to replace than to chase leaks.
- Extent of damage: Some regions require replacement when damage exceeds a percentage of the roof area.
- Matching: Discontinued shingles or colors can make spot repairs impractical or unacceptable.
- Decking health: Rot or delamination may require deck repairs before new roofing.
Upgrading during replacement can add resilience: Class 4 impact-resistant shingles, full-synthetic underlayment, extended ice-and-water barrier, enhanced hip/ridge shingles, balanced intake/exhaust ventilation, and sealed roof deck options (often used in coastal or high-wind areas).
Gutters, Skylights, and Siding Touchpoints
- Gutters: Seamless aluminum with hidden hangers resists wind better than spike-and-ferrule systems. Micro-mesh guards help keep channels clear, but ensure they’re properly pitched and secured.
- Skylights: Modern units with laminated or impact-rated glass and factory flashing kits perform better in storms. If you’re replacing a roof, consider replacing older skylights at the same time to avoid re-flashing twice.
- Soffit and fascia: Wind can open gaps that invite water and pests. Replace rotted fascia before reattaching gutters.
Common Mistakes to Avoid
- Climbing a wet or damaged roof without safety gear.
- Smearing roofing cement everywhere. Overuse traps moisture and voids warranties.
- Power-washing shingles, which strips granules.
- Ignoring small stains that signal a larger hidden issue.
- Signing contingency contracts or “assignment of benefits” without understanding obligations.
- Skipping ventilation and underlayment upgrades during replacement.
New Tools and Trends That Help
- Drones and high-resolution imaging: Safer, clearer documentation for insurance and planning.
- Infrared moisture scans: Locates wet insulation and hidden leaks without opening the roof.
- Impact-resistant roofing: Class 4 shingles, thicker metal panels, and SBS-modified asphalt improve hail performance and may earn insurance discounts.
- Advanced underlayments: Synthetic and peel-and-stick membranes offer better water resistance and wind hold compared to old felt.
Your Simple Post-Storm Checklist
- Document exterior and interior conditions with photos and notes.
- Inspect from the ground: shingles, flashings, gutters, downspouts, skylights, siding edges.
- Check the attic for daylight, damp insulation, and stained sheathing.
- Protect interior with plastic and buckets; clear downspouts if safe.
- Call a reputable local contractor for a full inspection and written report.
- Contact your insurance carrier if storm damage is suspected; coordinate an adjuster meeting with your contractor.
- Review repair vs. replacement options, materials, and warranties before signing.
Final Guidance
Hidden roof damage rarely fixes itself; it grows. A careful look right after the storm—inside and out—helps you catch problems early and make smart decisions. Lean on professionals who inspect thoroughly, explain plainly, and stand behind their work. With the right plan, you can protect your home now and make it more resilient for the next storm.
Recent Posts

How to Prepare Your Roof for Hurricane Season

